After modeling our weapon and vehicle, we are now working on making our weapons function. To begin this process we learned about projectiles and the LineTrace node
 |
| Using line trace |
The LineTrace node allows me to perform a trace collision over certain objects and return the object back. The important parts about setting up the LineTrace are getting the
WorldLocation,
WorldRotation, and the
ForwardVector.
 |
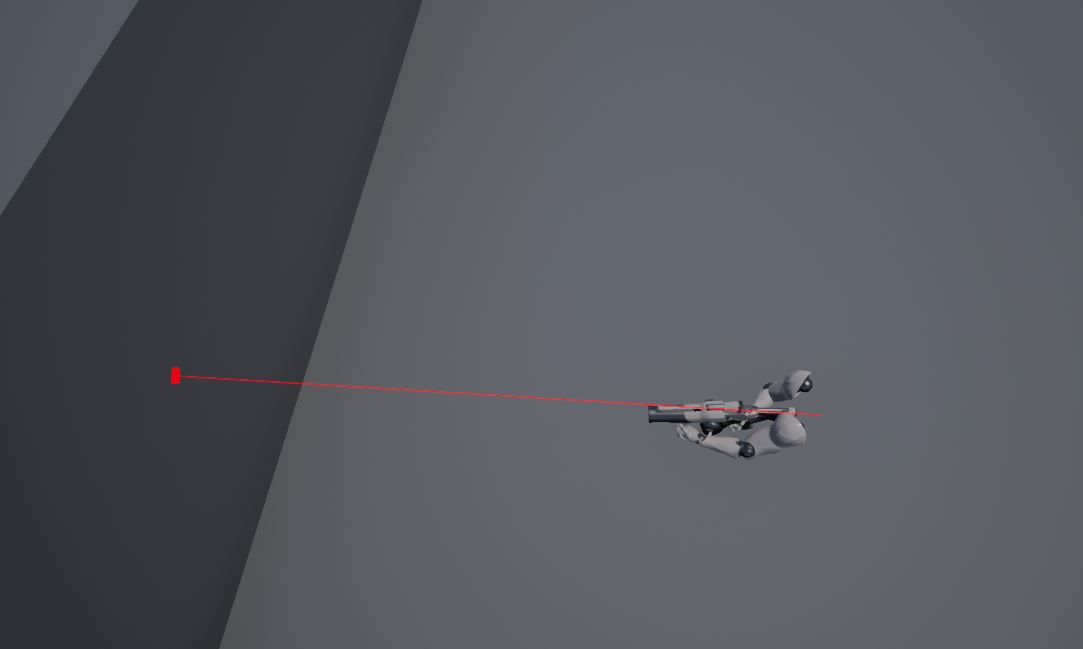
| LineTrace in action |
The end result is a tracer that returns the collision back to the player. The next step was putting together a projectile. Putting in the projectile was fairly simple because I used a
SpawnActor blueprint node.
 |
| My projectile |
The main components that make up my projectile is a simple static mesh and a
Projectile Movement. Using projectile movement allows me to set the distance, direction, and rate my static mesh travels.
On the right side is a details panel. The details panel allows me to adjust the projectile anyway I see fit. I can adjust how far my projectile travels or how much gravity affects the projectile's air time.


No comments:
Post a Comment