Friday, August 31, 2018

Isometric sketches

A new year a new level design!!

We are beginning to work on our gaming mechanics by creating isometric sketches of a weapon we might want to use in our biome. Our biome will feature a medieval landscape with fantasy elements. So with that in mind, I began working on my Sketches. 
(Page 1 of my sketches)

Add caption


The first weapon I started working on was the Staff of Merlin. With the staff the play would be limited to two actions. Teleportation and striking enemies.


The use of the portals would allow the user to travel short distances to get hard to reach objects and traverse through the level with ease.


Enemies that would obstruct the player's goal could be struck with lightning. The light could be killed or stun for a moment but long enough for the player to continue forward.


My next weapon or prop design is call The Necklace of Gia. While working on this sketch I drew inspiration from an old show called "Captain Planet". Instead of having the player gather rings I wanted to use a simple necklace. The use of the necklace would help the player traverse through traps and overcome obstacles.

Creating a gust of wind to increase jump.

Creating steps from the ground to reach higher platforms.


Initiating checkpoints.


Using electricity to initiate platforms. After a time they disappear again.


For my last two mechanics I was thinking of comedic and dangerous weapons that had a short usage time.

Hangry Gum is a super charged gumboil that makes the player hungry so they go into a rampage. The strength allows them to break walls and beat up enemies

(Hangry Gum)
The acid gun is the typical weapon for melting stronger materials like metal.

Monday, July 2, 2018

Observation Bay

When I started learning about Maya I began learning the basic tools and settings. Before my journey to Ringling I wanted to become familiar with the software that I was going to be using throughout my career. In the end I created an observation bay.

The room features a projector and a planet. Along with modeling I learned a bit about materials and animation simple rotations. My total process for this project was 2-5 days.

Video:

Wednesday, April 25, 2018

Game Trailer: Banana Bonanza

After weeks of hard work I would like to present the trailer for my arena level ....


  BANANA BONANZA!!!


Monday, April 16, 2018

Trailer Animatic


Here is my animatic for my arena trailer. My trailer will consist of an animation and in game footage to attract players to play my level.

Game title

I wanted to use the monkey as the main focus to showcase one of my unique selling points. The monkey would also add a comical feel to the trailer. 

Some key elements that are seen within my trailer will focus on the level's gameplay and obstacles the players will encounter.

Deleted Scenes
"Woah. Cool!"
"Huh?"
*Intense Glaring*


Some scraped frames that I was planning to use in my trailer. I was going to teleport players into the game wearing different outfits and battle each-other.


Friday, April 13, 2018

Mika and the Crystal Wand: Boss Pre-Production

The Lich

My antagonist or boss is The Lich. I want the the design of The Lich to be dark and menacing and as he changes over time I want him to be terrifying.

(Photo from The Witcher III)


Some visual feedback I want to show that the boss is injured is the change in color and attacks.
The boss would start off by moving around the room, but as the battle progresses his attacks become stronger and he moves slower.

The first phase would be the boss firing multiple magic projectiles at the player. To give the player time to think the boss will charge up his attack .


The next phase would be waves. The waves are like the magic projectiles but they cover a wider range.

(Credit: Bloodborne)


The final attack would be the boss creating walls of fire and firing projectiles. The walls of fire would close in the player but fade away over time.

The HUD for my boss would be at the bottom center of my level.


Wednesday, April 11, 2018

Banana Bonanza Gameplay


After weeks of hard work and blueprinting I was able to complete Banana Bonanza. Here is a video of my unique selling points and level layout.

Monday, March 19, 2018

Battle Arena Pre Production

We are now moving into the battle arena pre production phase. The first step in pre production is to create level boards of different level ideas and talk about how our level would function and different hazards or obstacles that would be present in our level.

Level Boards

My first level idea was Shape Shifter. There wouldn't be much in the level except the stage moving and changing shape over time. There are two buttons that can activate the stage shifting but there is a delay before the button can be activated again.

Shape Shifter


My second level idea is Banana Bonanza. This level features elevation and a few turrets. The layout of this level would allow players to keep moving and plan out there next move.
Banana Bonanza


The turrets around the level would shoot bananas onto the platform to cause the player to wipe out. The would not be any damage taken but another player can attack them.
V.O. and turrets
My final level idea is Space Race 57'. This level features a laser beam and meteors. The layout of the level is fairly simple and keeps the player alert of there surroundings and other players.


The satellite laser beam is auto activated to lock on to random areas of the surface. However, the beam can be activate by a player and fire at the center of the level. The player would be teleported into a safe room while the laser goes off. Then the side hatch would open and let the player go free.
The laser beam can be seen charging up in the background so the player can prepare for the beam.

Wednesday, March 14, 2018

Projectiles and LineTrace

After modeling our weapon and vehicle, we are now working on making our weapons function. To begin this process we learned about projectiles and the LineTrace node

Using line trace
The LineTrace node allows me to perform a trace collision over certain objects and return the object back. The important parts about setting up the LineTrace are getting the WorldLocation, WorldRotation, and the ForwardVector.

LineTrace in action

The end result is a tracer that returns the collision back to the player. The next step was putting together a projectile. Putting in the projectile was fairly simple because I used a SpawnActor blueprint node.


My projectile
The main components that make up my projectile is a simple static mesh and a Projectile Movement. Using projectile movement allows me to set the distance, direction,  and rate my static mesh travels.

On the right side is a details panel. The details panel allows me to adjust the projectile anyway I see fit. I can adjust how far my projectile travels or how much gravity affects the projectile's air time.


Tuesday, March 13, 2018

Stinger X

This is my final vehicle model called the Stinger X.

Three quarter view

Side View
Front view

Back View


Thursday, March 1, 2018

Mika and the Crystal Wand

Mika and the Crystal Wand

While playing through my game you will notice the different rooms that I have set up that hold different enemies and items for the player to discover. My game also features a puzzle gating mechanism that requires the player to activate statues.

In the first room the player learns of his friends whereabouts and sets out to find his missing friend, Ika. The player is soon after accompanied by a spirit who doesn't remember his name. In the level the player is guided by the spirit until the player is able to fend for themselves

Thursday, February 8, 2018

Weapon Pre-Pro: Concept art

In the process of making my weapon I thought about the overall silhouette. Some of the silhouettes have extruding parts to break up the overall box shape.
Silhouettes
One design for my weapon concept involved  two weapons in one. The weapon would rotate on a center with two different functions. In my concept I took apart my weapon and thought about how my weapon would function and how it would be powered
Weapon mechanics

Mika and the Crystal Wand: Level Design

Story:
Mika and the Crystal Wand follows a young child who goes to look for his missing friend. As he searches for his friend he stumbles across an old ruin and recovers his friends notes about an old legend about the crystal wand of life. When in the wrong hands, the wand can destroy everything in sight. Inside the ruin lies the Lich. An undead immortal who has come out of hiding to take the Crystal wand and take over the land.

Game Level
Legend


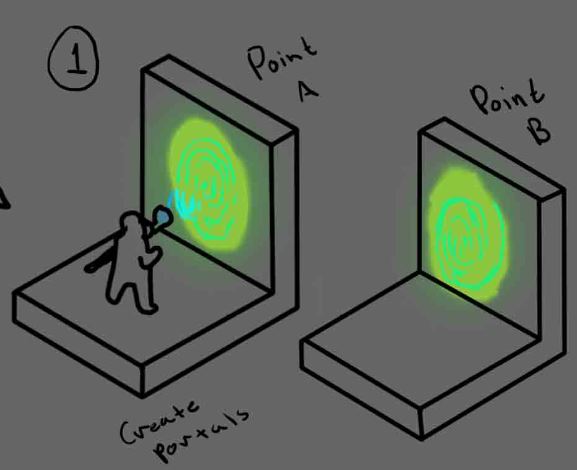
After coming up with my game assets I began working on my level design. I wanted some of the rooms to be rectangular just to present certain elements in my game. Such as the introduction of the spirit guide  and the players weapon; a magic wand. I chose wands to get away from the traditional sword and shield.
Main Hall

The player starts off by entering the main hall and encountering the spirit of their missing friend. The spirit tags along with the player and gives hints to the player about gameplay mechanics.
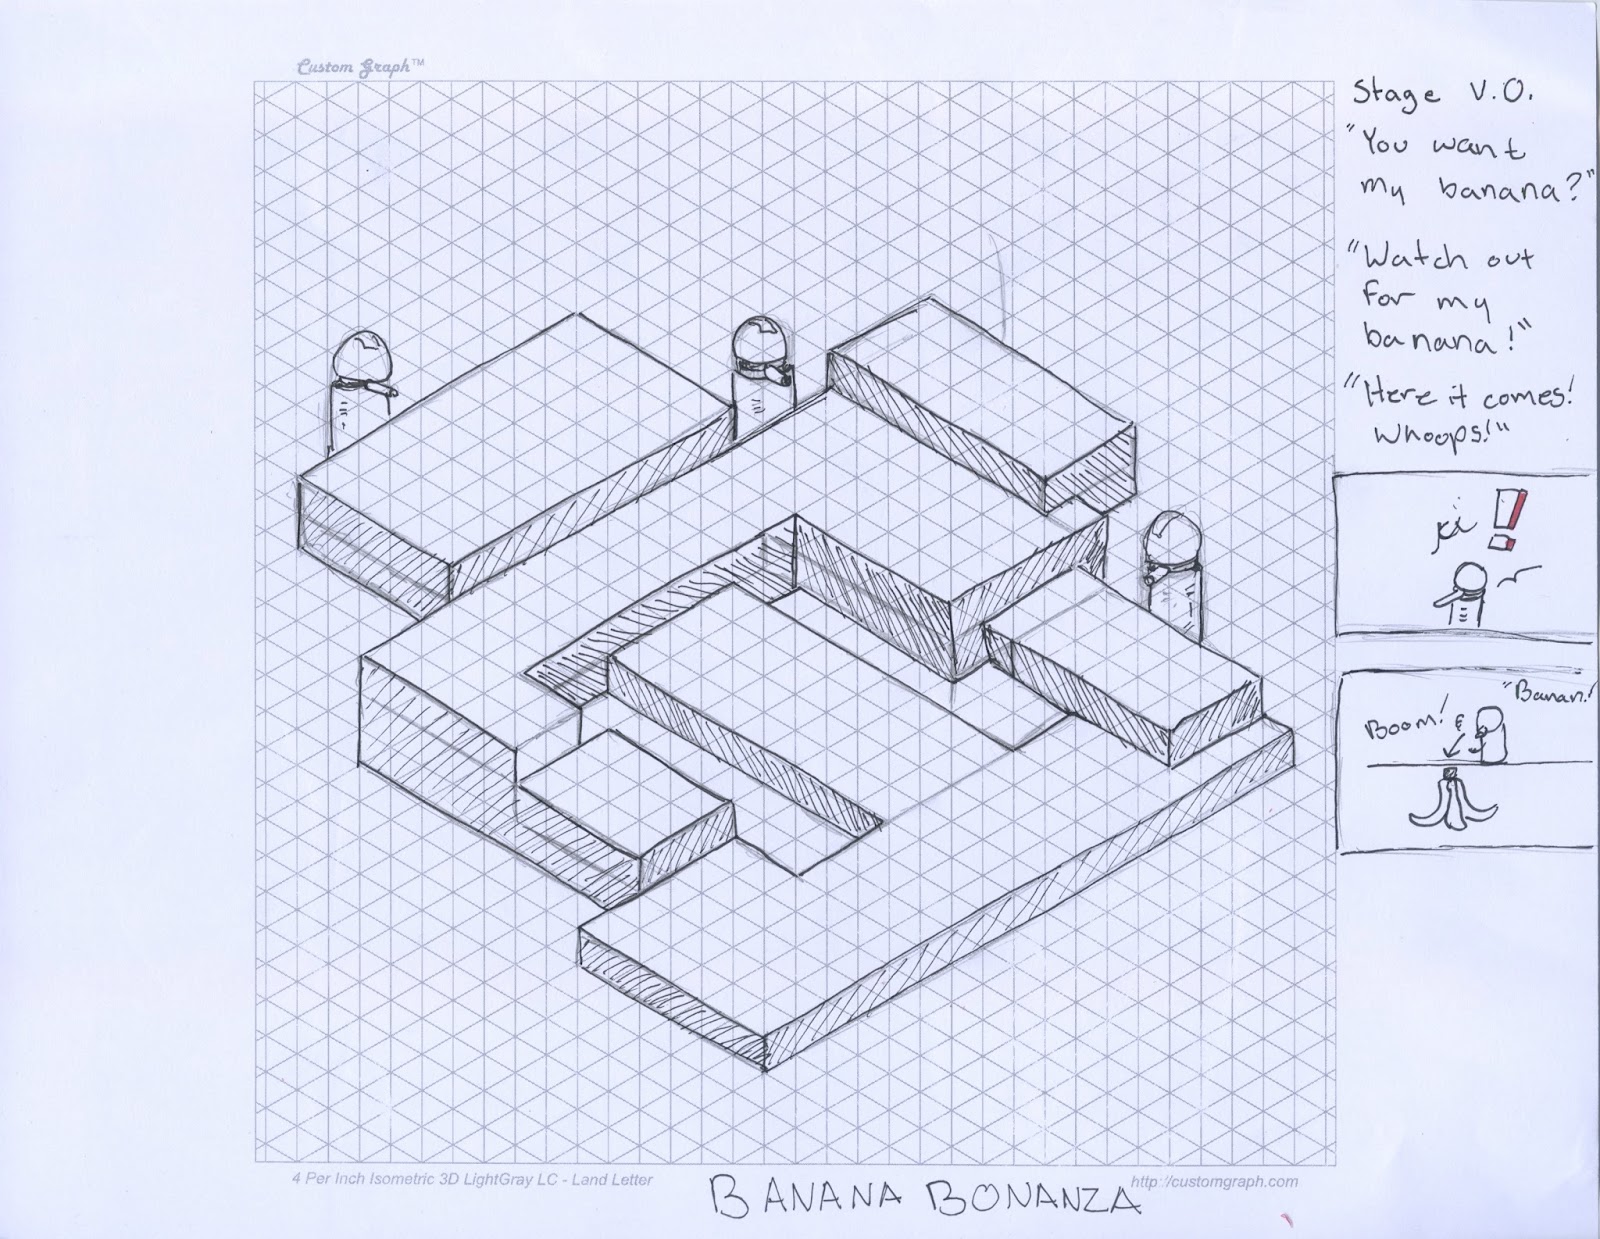
(Top to bottom) Altar room, first enemy encounter
After the player meets their spirit guide they find there way to the altar room. The altar room introduce the player to the first puzzle. What the player must do is light the torches in a certain order to activate the secret stair case. Upon entering the room the learn of their first enemy and the use of health potions.
New enemy encounter


In the next puzzle room the player encounters a new enemy. This enemy shoots fire at the player. The encounter with this new enemy introduces a new attack which brightens the room and blinds the enemy. Once the enemy is blinded they are vulnerable to damage.

(Top to bottom) New enemy, More enemies, treasure chest


Ritual room
In the final room the player encounters the Lich in the middle of a barrier ritual. The barrier itself is disabling the Lich from leaving the castle.

Enemies
(Left to right) The Lich, Ghouls or The Possessed Ones
After getting a front view of my enemies I thought about there top down view. The minor enemies are interesting because they have protruding parts coming out of there bodies which gives them an interesting silhouette.

Game Hud
Game hud ideas

My game hud is fairly simple. I combined the huds on the left and right to create the hud I had in mind. I wand to show the player's health, the wand magic, and the special the player is able to use.

Monday, February 5, 2018

Mika and the Crystal Wand

Story
Mika and the Crystal Wand follows a young child who goes to look for his missing friend. As he searches for his friend he stumbles across an old ruin and recovers his friends notes about an old legend about the crystal wand of life. When in the wrong hands, the wand can destroy everything in sight. Inside the ruin lies the Lich. An undead immortal who has come out of hiding to take the Crystal wand and take over the land.

Props and Assets
Props
After thinking about my my location I thought about how I would set dress the level. So I put together a small set of props that would be in my level. 
Magic Weapons


Characters
Mika
The initial idea for coming up with Mika was a mix of Adventure Time and Earthbound. I wanted to go with bright colors to contrast with the dark colors (Good v.s. Evil) The little blue orb is the spirit of his friend who was unfortunately killed by the Lich.


The Lich
To give make the Lich look menacing I added long curved horns, a tattered cape, and glowing green eyes. Instead of a grotesque face I used a deer skull to make him more interesting.

Enemy variants
For the enemy variants I thought about what would make the enemies terrifying. So questions I kept in mind were:
  • What are they?
  • What abilities do they have?
  • Do they use swords and shields?
  • Do they use magic?

With these questions in mind I was able to create different creatures with different abilities. For example, the variant with black horns is a charger who rams into the player like a bull.

Sunday, January 28, 2018

Insane in the Membrain


After weeks of hard work I present my game level. There were a few difficulties that I ran into while creating my level but in the end I was able to get my mechanics to work.

The first area of my level is a tutorial level to show the player the basic controls. One of the mechanics in my game is the use of portals. Portals allows the player to get to the next area. But the portals must be activated by using key cards.

To show the player what key cards they would need I placed the key cards on a shelf with a light. The

Tuesday, January 23, 2018

Vehicle Process #1

The first part of making our vehicle is making a low poly mesh. The low poly allows us to get an idea of our vehicle before we add in the necessary details such as, tires, windshields, and exhaust. The beginning of modeling my vehicle was a bit difficult because I didn't know where to start.

Front view: Eventually I started with the fenders and side panels. After making sure the panels
aligned I started modeling the side panels. Because my vehicle is unmanned, there isn't a need for doors.

Back View: I chose to go with the delorean engine idea for the back of my vehicle.
The back was fairly simple because it's a box shape.

Top view: The hood of the car was a bit difficult because of the design I went with.
 I used the exhaust of a 70's mustang to make the side silhouette more interesting.

Labels

Isometric sketches

A new year a new level design!! We are beginning to work on our gaming mechanics by creating isometric sketches of a weapon we might wa...